
Once considered a vintage relic of grandma’s house, decorative plate walls have surged back into modern interior design with a creative and elegant twist. From minimalist Scandinavian interiors to cozy farmhouse kitchens and bohemian bedrooms, plates are being used as art pieces, each telling a story through color, pattern, or heritage. Whether you’re displaying family heirlooms, quirky thrift finds, or designer ceramics, plate walls add texture, personality, and a three-dimensional element to otherwise flat spaces.

This DIY trend has gained traction for one simple reason: it’s versatile and deeply personal. You can create symmetrical layouts, organic clusters, or even full gallery walls using nothing but beautiful plates and a bit of planning. This guide walks you through three easy, foolproof methods to hang plates without damaging them — or your walls.
🎨 Step 1: Choose the Perfect Plates
Before diving into tools and adhesives, select plates that suit your style and room:
Eclectic Boho: Mix bold patterns and bright colors.
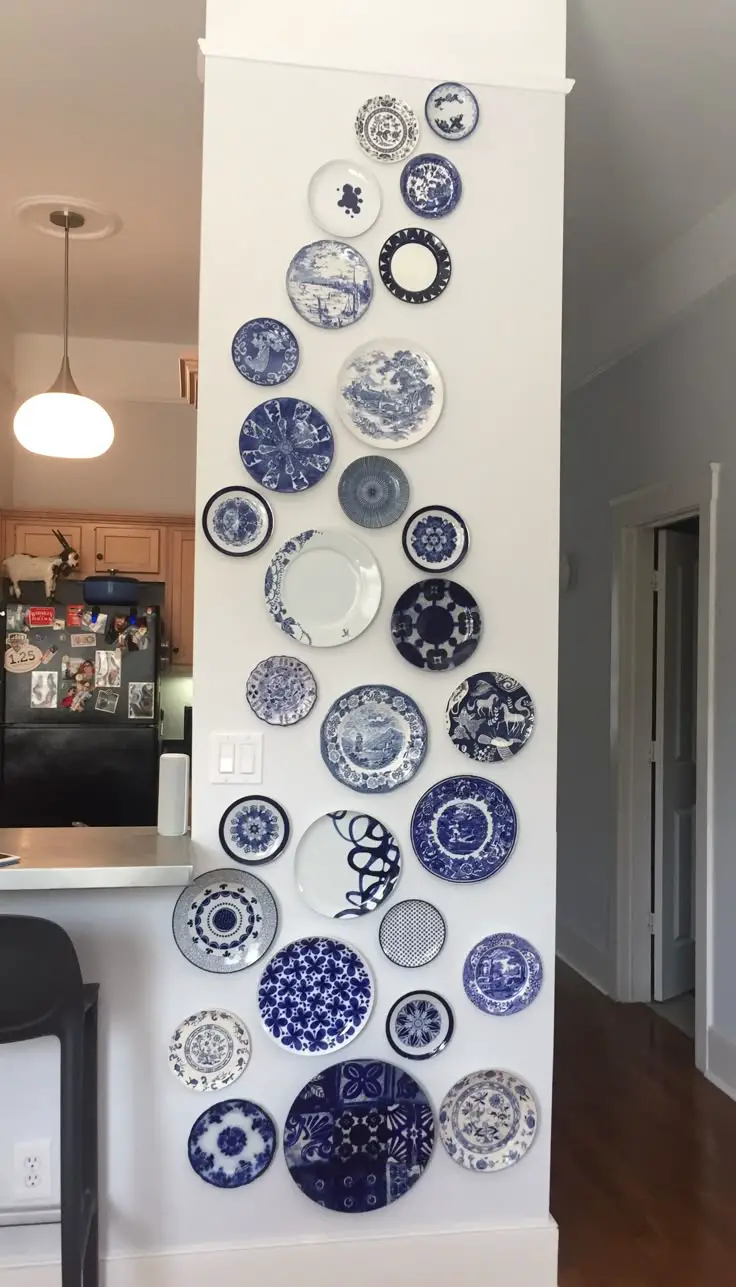
Modern Minimalist: Stick to monochrome or clean, simple designs.
Rustic Farmhouse: Use vintage transferware or handmade pottery.
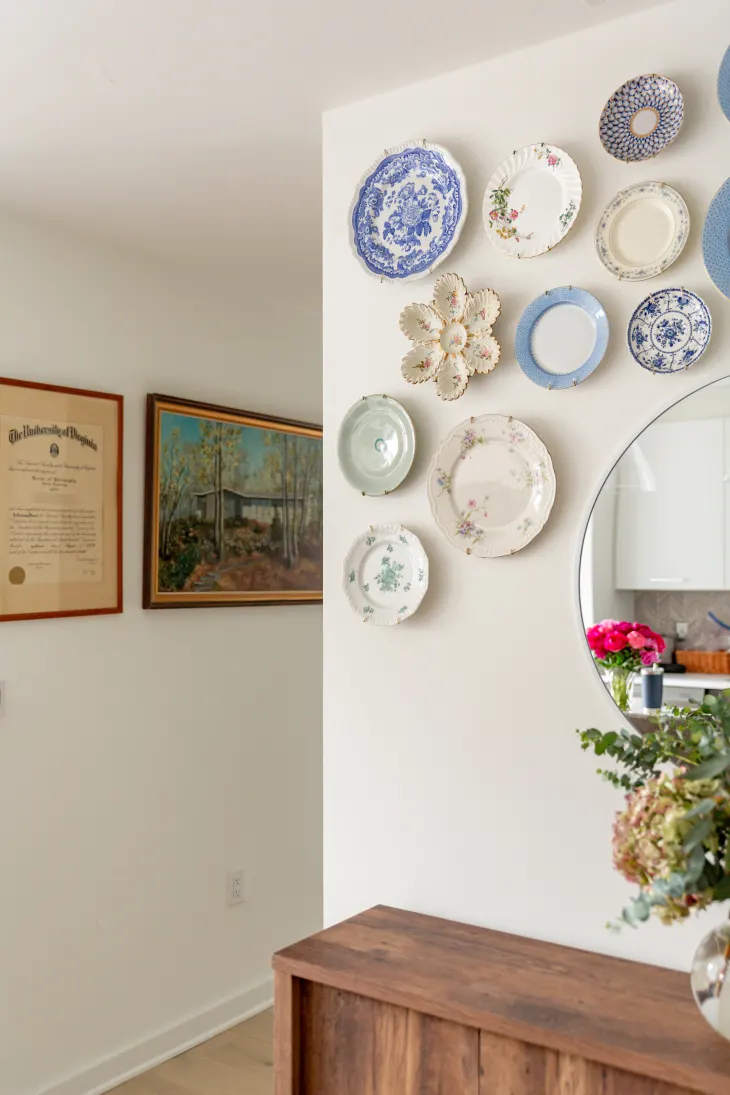
Traditional/Elegant: Opt for classic fine china with gold or floral trims.
💡 Pro Tip: Mix plate sizes for more visual interest. Odd numbers often look more natural in groupings.
✏️ Step 2: Plan Your Layout
Lay your plates on the floor first or cut out paper templates in the exact shape and size of your plates. Tape the paper cutouts to your wall using painter’s tape and rearrange them until you’re satisfied with the look.
Tools:
Kraft paper or old newspaper
Scissors
Painter’s tape
Measuring tape
Level
💡 Design Ideas:
Vertical line for narrow wall spaces
Circular or oval cluster for above couches or headboards
Grid layout for a formal dining room
🔧 Step 3: Choose Your Hanging Method
Method 1: Spring-Loaded Plate Hangers (Most Secure)
Supplies:
Spring-loaded plate hangers
Picture hooks or nails
Hammer
Pencil
Level
Instructions:
Clip the plate into the hanger. Ensure it grips the rim securely.
Mark the top-center of your paper template with a pencil.
Hammer in a picture hook at the mark.
Remove the paper, and hang your plate by the hanger’s loop.
Use a level to ensure it’s straight.